Grow your own soy milk
In 2013 when I became a vegetarian I was introduced to tofu and a raft of other soy-based products. This inevitably led to me reading up about soy, the issues with soy, how soy products (e.g. milk and tofu) are made and how to grow soybeans.
At the same time I was also interested in having a go at growing my own food over the summer. After discovering (unsurprisingly) that I was not permitted to rip up half the lawn to plant vegetables and soybeans, I ended up having a chat to an elderly neighbour who, being a former gardener, had plenty of space for me to plant things.
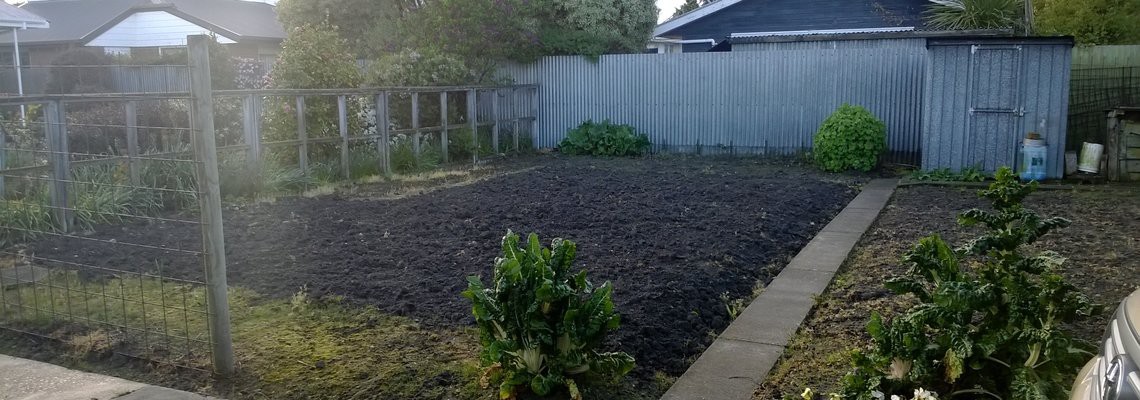 Exhibit A: The super-interesting plot of dirt
After prodding at the soil with an oversized fork for a few long hours in the sun, I ended up with an area sufficient to plant things in. The list of things included a few vegetables (different lettuces, silverbeet, pumpkin, squash, carrots etc) and of course, soybeans.
As it was quite early in spring, I threw some vegetable seeds in the ground but waited a bit longer for the soybeans…
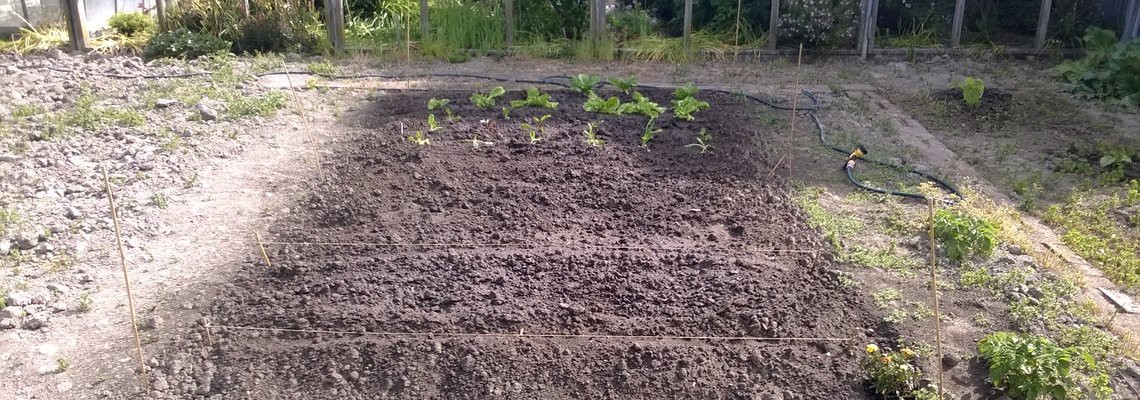 Exhibit B: The same plot of dirt, looking less like building-foundation-grade concrete and with added vegetables (and soybeans underground)
Part A: Growing the soybeans
According to the guide I was reading:
- “Soybeans grow best when the daytime temperature averages at least 20°C”
Christchurch has a mean temperature of 16.9 degrees in the summer - “Before planting, prepare your site by adding aged compost to the soil”
Hm, didn’t have any handy… oh well - “They grow best in loose, well-drained soil rich in organic matter”
A clay-based soil that hasn’t been used in years will have to do
In other words, the growing conditions were ideal for soybeans! Eventually the days seemed to be warm more than they were cold so I decided to plant the soybeans. As per the instructions I planted them in two rows, widely spaced apart in full sun.
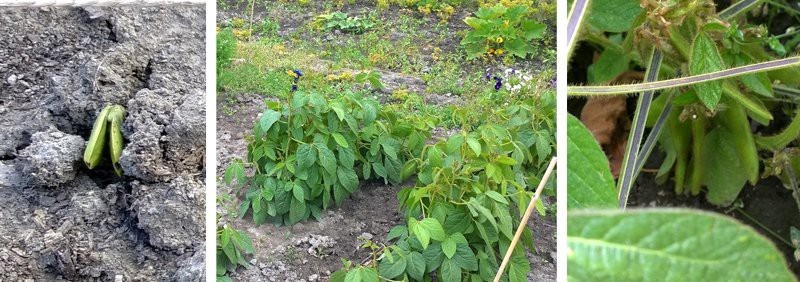 Exhibit C: Shoots | Leafy Plants | The soybean pods beginning to grow.
There are a two main stages in growing soybeans, the first being when the soybeans have grown sufficiently large enough to eat them but they are still green. At this stage the beans are known as ‘edamame’, and are apparently quite nice to eat once you’ve boiled them for a while (long enough to destroy the ‘trypsin inhibitors’, the part that’s not good for humans).
I say apparently because the beans reached this stage while I was away on holiday.
The next stage is when the plants/beans are yellow and can be pulled out of the ground to dry. Dry soybeans are then able to be processed into other soy products such as milk and tofu.
Around the time that the beans were reaching this stage, Christchurch also suffered from a decent storm complete with large amounts of hail which lead to a few broken plants, so I decided to pull them out of the ground and fling them into the shed to dry.
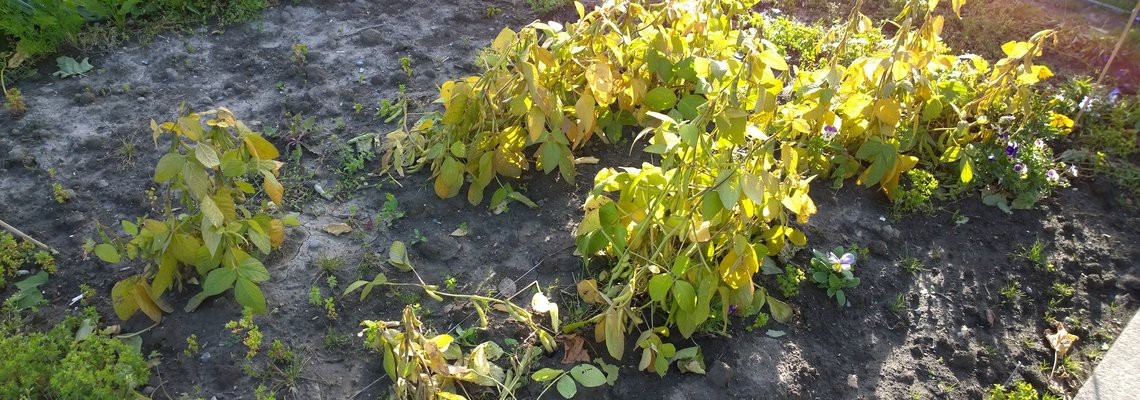 Exhibit D: Unhappy looking, storm-damaged, ‘old’, yellowed soybean plants.
Part B: Making the soy milk
A few weeks later after I remembered that I had a pile of soybean plants sitting in the shed, I spent a decent amount of time extracting the soybeans by squeezing the now-dried pods and then flicking the soybeans out. After this long and boring process, I ended up with a medium sized bowl full of soybeans.
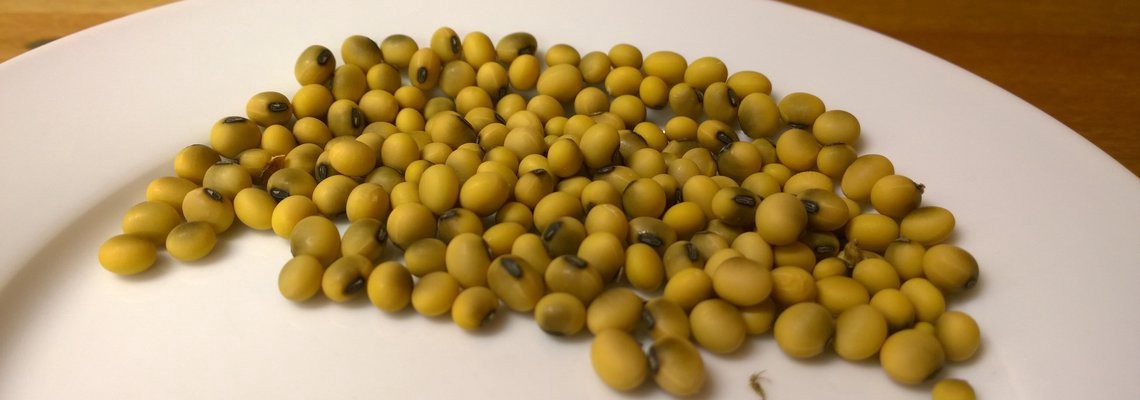 Exhibit E: Some (not all) of the soybeans extracted from their pods.
The original plan was to follow an online guide which outlined a rather messy process involving a large pot and some cheesecloth, but I discovered that one of my colleagues was in possession of a soy milk maker (which is basically a blender combined with a kettle).
This meant that the process now consisted of two main steps.
(1) Soak the soybeans in water overnight—they absorb the water and get much bigger in size.
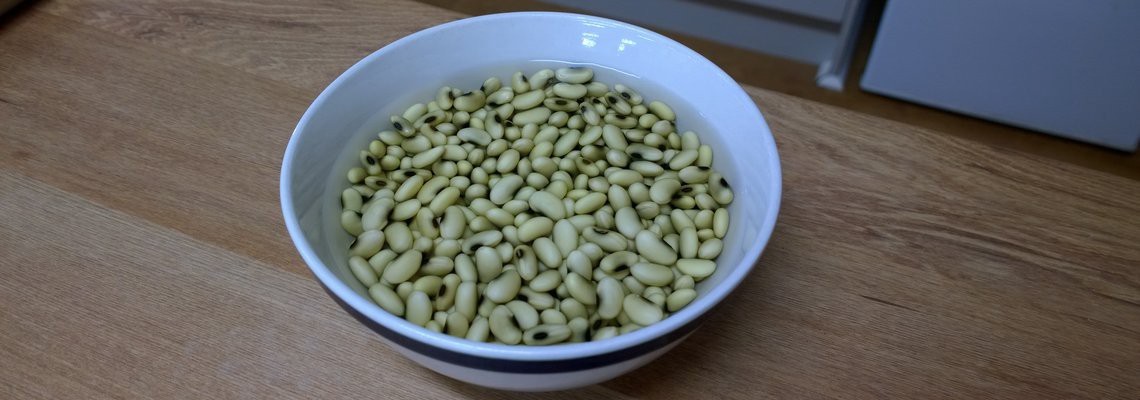 Exhibit F: Soybeans that have been soaked overnight. (exciting, I know!)
(2) Put them in the soy milk maker and leave it for a while. This was very noisy at times as the soy milk maker ground the beans, much to the slight annoyance of other people in the room.
Also noticeable was a ‘beany’ smell, which was actually quite nice.
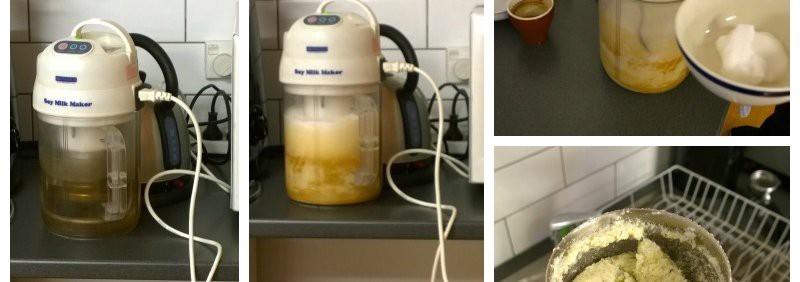 Exhibit G: The soy milk maker about to roar (literally) into life; heating the soy milk (it would bubble and rise to the top, then settle down again as the heat was turned off and on); scooping off the foam; the ‘okara’ (ground soybeans) left over.
The soy milk maker automates the process of repeatedly heating the beans to destroy the bad parts and grinding the soybeans to extract the liquid from them.
The end result
 Exhibit I: Fresh soy milk in the jug (left), which I turned into a hot chocolate (right).
Final thoughts
- The soy milk tasted a bit more ‘grassy’ than conventional store-bought soy milk
- The hot chocolate was damn good It was pretty awesome to have made “low-carbon” milk—no packaging, locally grown and produced and the decreased water usage when compared to cow’s milk
- The most boring and labour-intensive part was extracting the beans from the pods—the rest of it was pretty easy and low maintenance
- I should have grown a bit more so I could try making tofu from the soybeans
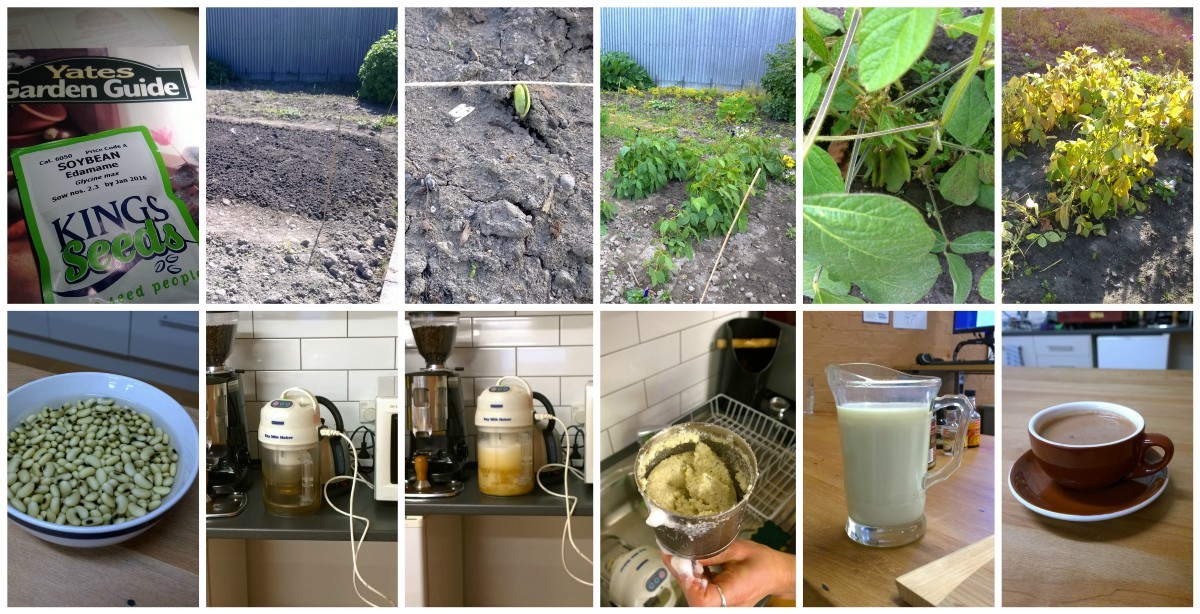 The process from start to finish!